Improve your snowboard's speed and glide with proper waxing techniques. A step-by-step guide for optimal performance.
Snowboard Waxing for Speed and Optimal Performance
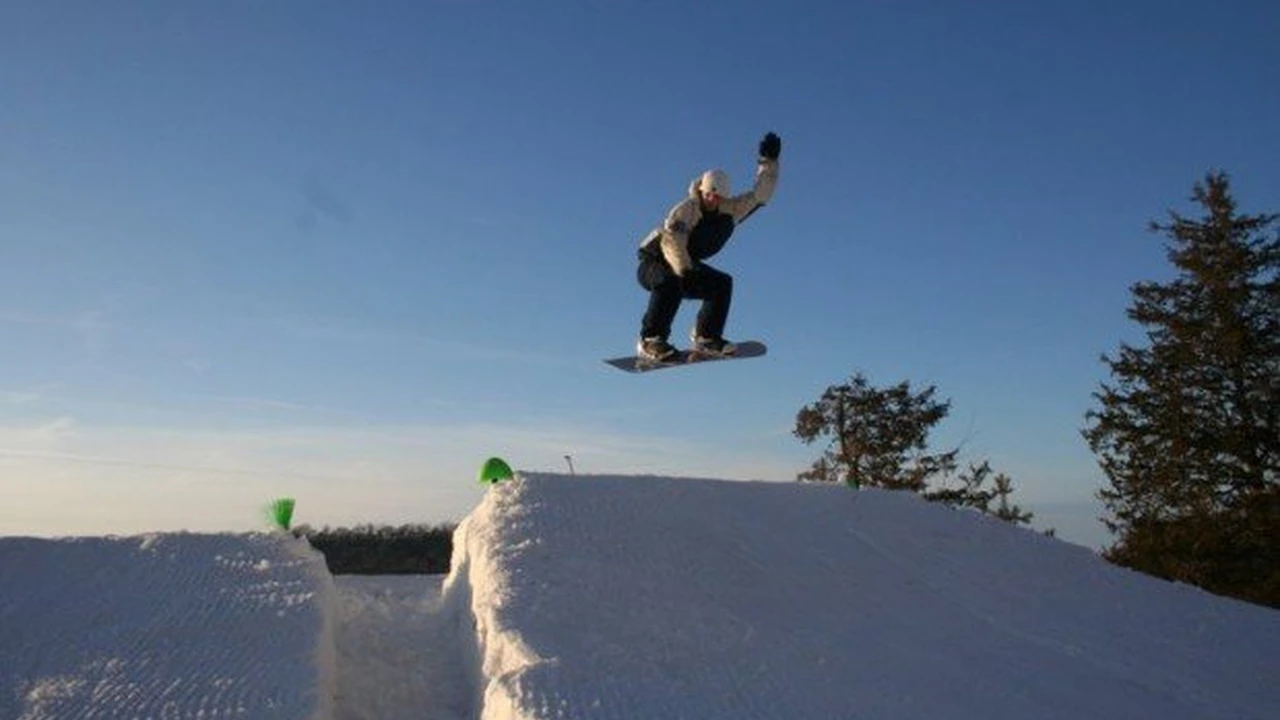
Alright, let's talk about waxing your snowboard. It's not just for the pros; it's for anyone who wants to glide effortlessly, turn smoothly, and generally have a better time on the mountain. A well-waxed board isn't just faster; it's more responsive, easier to control, and protects your base from drying out. Think of it like giving your car an oil change – essential maintenance for peak performance. If you've ever felt your board dragging, sticking, or just not feeling 'right' on the snow, chances are it's crying out for a fresh coat of wax. This guide will walk you through everything you need to know, from why waxing matters to choosing the right wax and executing a perfect hot wax at home.
Why Snowboard Waxing Matters Understanding Base Health and Glide
So, why bother with waxing? Your snowboard's base, usually made of P-Tex, is porous. As you ride, friction with the snow creates heat, which melts a thin layer of water under your board. This water layer is what allows you to glide. Wax fills those tiny pores in the P-Tex, making the base smoother and more hydrophobic (water-repelling). This reduces friction, allowing you to glide faster and more efficiently. Without wax, your base dries out, becomes 'hairy' (tiny fibers stand up), and creates more drag. It's like trying to slide on sandpaper instead of ice. Regular waxing keeps your base hydrated, fast, and protected from damage.
Beyond just speed, a well-waxed board offers better control. When your board glides consistently, you can initiate turns more smoothly and maintain an edge more effectively. This translates to less effort, more confidence, and ultimately, more fun on the slopes. Plus, waxing helps protect your base from oxidation and damage from rocks and debris. It's a small investment of time that pays huge dividends in your riding experience.
Choosing the Right Snowboard Wax Types and Temperature Ranges
Walking into a ski shop, you'll see a dizzying array of waxes. Don't get overwhelmed! The primary factor in choosing wax is snow temperature. Waxes are formulated to perform best within specific temperature ranges. Using the wrong wax can actually slow you down or make your board feel sticky.
Universal Wax A Good Starting Point for All Conditions
For beginners or casual riders, a universal wax is a great starting point. These waxes are designed to work reasonably well across a broad range of snow temperatures, typically from very cold to warm. They're convenient and a good 'set it and forget it' option if you don't want to fuss with temperature-specific waxes. Brands like Swix, Toko, and One Ball Jay offer excellent universal options. They might not be the absolute fastest in specific conditions, but they'll always get the job done.
Temperature Specific Waxes Cold Warm and All Temperature Options
If you want to optimize your glide, temperature-specific waxes are the way to go. These are typically color-coded:
- Cold Waxes (Blue/Green): Designed for very cold, dry snow (e.g., below -10°C / 14°F). They are harder and more durable, resisting abrasion from icy snow.
- Mid-Range Waxes (Red/Purple): Best for typical winter conditions, around -4°C to -12°C (25°F to 10°F). These are a good balance of hardness and glide.
- Warm Waxes (Yellow/Orange): Ideal for warmer, wetter snow (e.g., above -4°C / 25°F). They are softer and contain additives that help repel water.
Some brands also offer 'all-temperature' waxes that are a step up from universal, providing better performance across a wider range than a single temperature-specific wax, but still not as specialized as dedicated cold or warm waxes.
Fluorinated Waxes High Performance and Race Specific Options
For serious riders or racers, fluorinated waxes offer superior glide, especially in wet snow. Fluorocarbons are highly hydrophobic, meaning they repel water exceptionally well. However, they are more expensive and can be tricky to apply. Due to environmental concerns, many brands are phasing out or reducing fluorocarbon content. For most recreational riders, non-fluorinated waxes are perfectly adequate and more environmentally friendly.
Rub On Waxes Quick Fixes and Emergency Glide Solutions
Rub-on waxes are super convenient for a quick boost of glide on the mountain. You just rub them on, let them dry for a minute, and go. They don't penetrate the base as deeply as hot wax, so their performance is temporary, but they're great for a mid-day refresh or if you forgot to wax before hitting the slopes. They're not a substitute for a proper hot wax, but they're a lifesaver in a pinch.
Essential Snowboard Waxing Tools Setting Up Your Home Workshop
Before you start melting wax, you'll need a few key tools. Investing in a basic waxing kit will save you money in the long run compared to paying a shop every time.
Waxing Iron Temperature Control and Even Heat Distribution
This is non-negotiable. Do NOT use a household iron! Household irons don't maintain a consistent temperature, can easily overheat and damage your base, and often have steam holes that make waxing messy. A dedicated waxing iron has a thick sole plate for even heat distribution and precise temperature control. Look for brands like Swix, Toko, or Dakine. A good iron will last you years.
Plastic Scraper Removing Excess Wax and Base Preparation
A sharp plastic scraper is crucial for removing excess wax after cooling. Make sure it's sharp and has a clean, straight edge. You can sharpen them with a file or a specialized scraper sharpener. A dull scraper will leave too much wax on your base, which actually slows you down.
Nylon Brush Polishing the Base and Enhancing Glide
After scraping, a nylon brush is used to further expose the base structure and polish the wax. This creates a smoother, faster surface. A good quality nylon brush will have stiff bristles that can get into the base structure.
Horsehair Brush Finishing Touches and Optimal Speed
For an even finer finish and maximum speed, a horsehair brush is used after the nylon brush. It removes even more micro-particles of wax and polishes the base to a high sheen. This is more for performance enthusiasts, but it does make a noticeable difference.
Base Cleaner Removing Dirt and Old Wax Residue
Before waxing, it's a good idea to clean your base. Base cleaner removes dirt, grime, and old wax residue, allowing the new wax to penetrate better. Apply it with a clean cloth and let it evaporate completely before waxing.
Edge Tuner and File Maintaining Sharp Edges for Control
While not directly for waxing, sharp edges are just as important for performance. An edge tuner and file allow you to maintain your edge sharpness, which is crucial for grip and control, especially on icy conditions. You'll want to do this before waxing, as filing can create metal shavings that you don't want embedded in your fresh wax.
Vise or Snowboard Stands Securing Your Board for Easy Waxing
Working on a stable surface is key. A snowboard vise or a pair of snowboard stands will hold your board securely, allowing you to apply pressure evenly and safely. If you don't have these, you can improvise with sawhorses and some padding, but a dedicated setup makes the process much easier and more enjoyable.
Step by Step Snowboard Hot Waxing Process Achieving Professional Results
Alright, let's get down to business. Here's the step-by-step process for a perfect hot wax at home:
Step 1 Prepare Your Workspace and Board Clean and Secure Setup
Find a well-ventilated area, ideally with good lighting. Lay down some newspaper or a drop cloth to catch wax drippings. Secure your snowboard base-up in a vise or on stands. Make sure it's stable and won't wobble. If your board is dirty, give it a quick wipe down with a damp cloth. If it's really grimy or has old, oxidized wax, use a base cleaner. Let it dry completely.
Step 2 Iron Temperature Setting and Wax Application Melting and Spreading
Set your waxing iron to the recommended temperature for your chosen wax. This is usually indicated on the wax packaging. It's typically around 120-140°C (250-285°F). Hold the wax against the iron's sole plate and let it drip onto your board's base. You want a continuous bead of wax, but don't overdo it. Aim for even coverage, about a dime-sized drip every inch or two along the length of the board.
Step 3 Ironing the Wax Even Distribution and Base Saturation
Once you have drips along the entire base, start ironing. Keep the iron moving constantly, from tip to tail, in smooth, overlapping passes. Don't let the iron sit in one spot, as this can overheat and damage your base. You want to see a thin, even layer of melted wax covering the entire base. The goal is to melt the wax into the pores of the P-Tex, not just sit on top. You'll see the wax 'wet out' the base as it absorbs. Do a few passes, ensuring full coverage. If you see any dry spots, add a little more wax and iron it in. The entire process for ironing should take about 5-10 minutes, depending on the board size.
Step 4 Cooling Time Allowing Wax to Penetrate and Harden
This is a crucial step that many people rush. Once you've ironed the wax, let your board cool completely to room temperature. This allows the wax to fully penetrate the base and harden. Rushing this step means the wax won't bond properly, and you'll lose performance. Depending on the room temperature, this can take anywhere from 30 minutes to a few hours. For best results, let it sit overnight.
Step 5 Scraping Excess Wax Removing the Top Layer for Optimal Glide
Once the board is cool and the wax is hard, it's time to scrape. Hold your plastic scraper firmly at a slight angle (about 45 degrees) and push it from tip to tail, applying even pressure. You want to remove all the excess wax from the surface, leaving only the wax that has absorbed into the base. You'll see thin curls of wax coming off. Continue scraping until no more wax comes off and the base looks dull, not shiny. Pay attention to the edges and sidewalls, removing any wax that has accumulated there.
Step 6 Brushing the Base Exposing Structure and Polishing for Speed
After scraping, use your nylon brush. Brush from tip to tail with firm, overlapping strokes. This step removes any remaining micro-particles of wax and exposes the base structure, which is essential for glide. You'll see a fine powder of wax coming off. Continue brushing until the base starts to look shiny and smooth. If you have a horsehair brush, follow up with that for an even finer polish and maximum speed. This step really brings out the performance of the wax.
Step 7 Edge Care and Final Inspection Sharpening and Cleaning
Before you hit the slopes, give your edges a quick check. If they're dull, use your edge tuner and file to sharpen them. Make sure to remove any burrs. Finally, wipe down your base with a clean cloth to remove any dust or debris from the waxing process. Your board is now ready to shred!
Advanced Waxing Techniques and Tips Maximizing Your Snowboard's Potential
Once you've mastered the basic hot wax, you can explore some advanced techniques to further enhance your board's performance.
Layering Waxes Combining Different Temperature Waxes for Versatility
For ultimate performance in variable conditions, some riders layer waxes. For example, you might apply a harder, colder wax first, let it cool, scrape it, and then apply a softer, warmer wax on top. The harder wax provides durability and protection, while the softer top layer offers better glide in specific conditions. This is a technique often used by racers.
Structure Brushing Enhancing Glide in Specific Snow Conditions
The base of your snowboard has a microscopic structure (often called 'base grind' or 'structure') that helps manage the water layer under your board. Different structures are better for different snow types. While most boards come with a universal structure, you can enhance it with specialized structure tools or by brushing. For example, a linear structure is good for cold, dry snow, while a cross-hatch structure is better for wet snow. Brushing with specific patterns can help optimize this.
Infrared Waxing Professional Level Base Saturation
Some high-end shops offer infrared waxing. This method uses infrared light to heat the wax and the base, allowing for deeper penetration and longer-lasting performance than traditional hot waxing. It's not something you'd do at home, but it's an option for a truly professional tune-up.
Waxing Frequency How Often Should You Wax Your Snowboard
How often you wax depends on how much you ride and the snow conditions. A good rule of thumb is every 3-5 days of riding. If you're riding on abrasive, icy snow, you might need to wax more frequently. If your base looks dry, white, or 'hairy,' it's definitely time for a wax. You'll also notice a significant drop in glide performance.
Recommended Snowboard Waxing Products and Kits Top Picks for Home Use
Here are some specific product recommendations to get you started or upgrade your waxing setup. Prices are approximate and can vary.
Beginner Friendly Waxing Kits All in One Solutions
- Dakine Super Tune Tuning Kit: This is an excellent starter kit. It typically includes a waxing iron, scraper, brush (often nylon), wax, and sometimes an edge tool. It's a great value for everything you need to get going.
- Swix T77 Economy Waxing Iron Kit: Swix is a trusted name in waxing. Their economy kit usually features a reliable iron, scraper, and a block of universal wax. It's a solid, no-frills option.
- Toko T8 Waxing Iron Kit: Similar to Swix, Toko offers quality tools. Their T8 iron is popular, and the kits often come with universal wax and a scraper.
Price Range for Kits: $80 - $150 USD
Individual Waxing Irons Reliable and Precise Temperature Control
- Swix T73 Digital Waxing Iron: If you want precise temperature control, this digital iron is fantastic. It heats up quickly and maintains a very stable temperature, reducing the risk of base damage.
- Toko T14 Digital Iron: Another top-tier digital iron, known for its robust build and accurate temperature readings. Great for serious home tuners.
- Dakine Hot Iron: A more affordable, yet still reliable, analog iron. It gets the job done well for most recreational users.
Price Range for Irons: $50 - $200 USD
Popular Wax Brands and Types Universal and Temperature Specific
- Swix Universal Wax (CH10X or F4): Swix F4 is a classic universal rub-on/iron-on wax. CH10X is a good non-fluorinated universal hot wax.
- Toko Express Universal Wax: A popular choice for a quick and effective universal wax.
- One Ball Jay Hot Wax (various temperatures): One Ball Jay offers a wide range of temperature-specific waxes that are easy to use and perform well. Their 'Warm,' 'Cool,' and 'Cold' options are clearly labeled.
- Hertel Super Hotsauce: A well-regarded all-temperature wax that's known for its durability and glide. Many riders swear by it as a go-to wax.
Price Range for Wax Blocks: $10 - $30 USD per block (enough for multiple waxes)
Scrapers and Brushes Essential Finishing Tools
- Swix Plexi Scraper (5mm or 3mm): Get a good thick scraper. Swix makes durable ones.
- Toko Plexi Scraper: Another reliable option.
- Swix Nylon Brush: Essential for brushing out the wax.
- Toko Horsehair Brush: For that extra polish and speed.
Price Range for Scrapers: $5 - $15 USD
Price Range for Brushes: $20 - $50 USD
Common Snowboard Waxing Mistakes and How to Avoid Them Troubleshooting Tips
Even experienced waxers make mistakes. Here are some common pitfalls and how to avoid them:
Overheating the Base Iron Temperature and Board Damage
This is the biggest no-no. If your iron is too hot or you leave it in one spot for too long, you can 'burn' your base. This looks like a discolored, often brownish, patch. A burnt base is damaged and won't absorb wax properly. Always keep the iron moving, and use a dedicated waxing iron with temperature control. If you see smoke, your iron is too hot!
Not Scraping Enough Leaving Excess Wax on the Base
Leaving too much wax on your base will actually slow you down. It creates drag and can make your board feel sticky. Scrape until no more wax comes off and the base looks dull, not shiny. Don't be afraid to apply firm pressure.
Not Brushing Properly Neglecting Base Structure and Polish
Scraping removes the bulk of the wax, but brushing is what truly exposes the base structure and polishes the wax for optimal glide. If you skip or rush this step, you're leaving performance on the table. Brush thoroughly, from tip to tail, until the base looks smooth and shiny.
Using the Wrong Wax for Conditions Temperature Mismatch
Using a cold wax in warm, wet snow, or vice versa, can hinder your performance. A cold wax in warm snow will be too hard and sticky. A warm wax in cold snow will be too soft and get scraped off quickly. Always try to match your wax to the expected snow temperature.
Waxing a Dirty Base Poor Adhesion and Performance
If your base is covered in dirt, grime, or old, oxidized wax, the new wax won't penetrate properly. Always clean your base before waxing. A quick wipe with a damp cloth or a dedicated base cleaner will make a big difference.
Rushing the Cooling Process Incomplete Wax Penetration
Patience is a virtue when waxing. Allowing the board to cool completely lets the wax fully penetrate and harden in the base. If you scrape too soon, the wax won't have bonded properly, and it will wear off quickly. Give it at least an hour, or ideally, several hours or overnight.
By following these steps and avoiding common mistakes, you'll be able to give your snowboard a professional-quality wax job at home. It's a rewarding skill that will significantly improve your riding experience, making every run faster, smoother, and more enjoyable. Happy shredding!
:max_bytes(150000):strip_icc()/277019-baked-pork-chops-with-cream-of-mushroom-soup-DDMFS-beauty-4x3-BG-7505-5762b731cf30447d9cbbbbbf387beafa.jpg)